
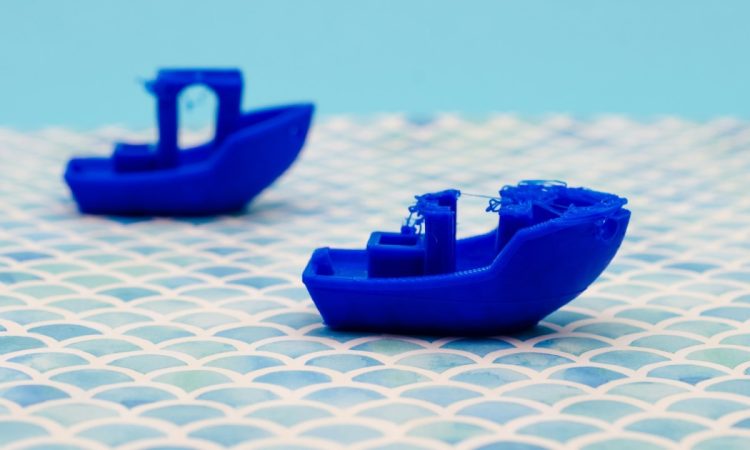
Achieving a flawless, smooth surface on a 3D printed part is often the final hurdle that separates a prototype from a professional-grade product. While the fundamental process of additive manufacturing is inherently layer-based, sophisticated techniques, material science, and precise calibration can dramatically reduce or eliminate visible layer lines. This comprehensive guide details a systematic approach, from initial setup to advanced post-processing, ensuring your final prints boast the quality and aesthetic appeal required for commercial or advanced engineering applications. The quality of your output reflects the mastery of your entire workflow.
Dialing In Your 3D Printer Settings for Superior Results
The secret to a high-quality finish begins before a single layer is deposited. Precision in your 3D printer settings is paramount.
Layer Height: This is arguably the most critical setting. Layer height dictates the thickness of each deposited layer. While a standard height might be , lowering this to or even significantly increases the number of layers required to build the part, thereby reducing the visibility of each individual layer line. The trade-off is increased print time, but the resulting finish is markedly smoother, minimizing subsequent post-processing effort.
Print Speed: Slowing the print speed allows the molten material more time to cool and bond correctly, which reduces ghosting, ringing, and uneven extrusion. For outer perimeters, speeds below are often necessary to ensure maximal resolution and sharp detail definition.
Temperature and Cooling: Extrusion temperature must be perfectly matched to the specific material being used. Too high, and the material may droop or string, leading to a rough surface texture. Too low, and adhesion suffers. Adequate cooling, particularly for materials like PLA, is essential to solidify the material immediately after extrusion, preserving the sharp geometry and reducing material deformation that causes surface irregularities.
Flow Rate Calibration: Ensuring your 3D printer is extruding the exact amount of material required is fundamental. An under-extruded print will have gaps and poor layer adhesion, while over-extrusion causes material to bulge on the corners and edges, creating an unsightly, bumpy finish. Precise flow rate calibration (often tested via a single-wall cube print) eliminates these volume issues.
Selecting the Right 3D Printer Filament for a Smooth Finish
The composition and properties of the 3D printer filament profoundly influence the achievable surface finish. Different materials react differently to heat, solvents, and mechanical abrasion.
Standard Materials (PLA, PETG): PLA is known for providing sharp details but can be challenging to smooth chemically. PETG offers good mechanical properties and a relatively smooth natural finish, though it can be prone to stringing, which must be managed through retraction and temperature settings.
Specialized Materials: For applications requiring an extremely glossy or seamless look, specialty filaments are available. Some materials, for instance, are designed to reflect light in a way that minimizes the appearance of layer lines, achieving a “silk” effect right off the print bed. For true professional-grade smoothing, however, the choice often comes down to materials that respond well to chemical treatment.
Material Consistency: Regardless of the filament type, using high-tolerance, quality material ensures a consistent diameter. Variations in filament diameter translate directly to flow rate inconsistencies, leading to bands of roughness or unevenness across the print surface.
Achieving a Flawless Surface Through Manual Methods
Mechanical post-processing is a time-tested technique suitable for virtually all filament types. It involves the progressive removal of material until the surface is uniform.
Scraping and Filing: For removing severe blemishes, large supports, or obvious layer registration errors, a sharp hobby knife or a set of needle files is essential. This initial phase focuses on removing bulk material and correcting major defects before moving to finer abrasion.
Progressive Sanding: Sanding is the most common manual technique. It must be performed sequentially using increasingly fine-grit sandpaper. Start with a coarse grit (e.g., P180 or P220) to quickly remove the largest layer lines. The key is to progress slowly and methodically, moving to P400, P800, P1500, and potentially up to P2500 for a glass-smooth finish. Wet sanding (using water) is highly recommended for the finer grits as it reduces heat, prevents the material from clogging the paper, and produces a more refined finish.
Polishing: After sanding to the highest grit, the surface may appear smooth but still slightly matte. A final polish using a rotary tool equipped with a soft cotton wheel and a plastic-safe polishing compound will restore shine and eliminate micro-scratches left by the finest sandpaper, resulting in a mirror-like sheen.
Advanced Techniques for Professional-Grade Smoothness
For applications demanding the ultimate level of surface finish with minimal manual labor, chemical and coating techniques are necessary.
Vapor Smoothing: This technique is often used with materials like ABS or ASA. The printed part is exposed to a vaporized solvent in a sealed chamber. The solvent vapor gently melts the surface of the plastic, allowing the material to flow and fill in the micro-valleys created by the layer lines. This process results in a uniformly glossy, seamless surface, but requires strict control over exposure time and ventilation due to the volatile nature of the solvents. Proper safety protocols and controlled environments are non-negotiable for vapor smoothing.
Epoxy Coating: Applying a two-part, self-leveling resin or epoxy coating provides an extremely durable, thick, and glossy finish. This method works well on almost any 3D printer filament, effectively sealing the layer lines beneath a clear, hard layer. The part must be meticulously cleaned and dusted before application to prevent debris from being permanently trapped in the resin. Multiple thin coats are superior to a single thick coat, reducing the chance of bubbles or drips.
Conclusion
Improving the surface finish of your 3D printed parts is not a single action but a holistic process. It requires diligence across three key stages: meticulous calibration of your 3D printer settings, careful selection of the 3D printer filament based on its final finishing requirements, and the application of appropriate post-processing techniques, whether mechanical, chemical, or coating-based. By treating the initial print quality as the foundation and applying systematic finishing steps, you can consistently transform raw layer lines into parts that meet the highest professional standards for aesthetics, tactile quality, and performance.

